
You see, it all began with a broken bi-fold door. One of the doors on our closet in our kitchen got stuck in between our two vacations. As Louis tried to unwedge the door, a piece of the wood on the bottom broke off, pretty much making the door unusable.
And then the closet remained with only one door for the next three weeks. I said to Louis, "We need to get that door fixed."
And he said, "Or we could leave it off?"
Oh, little did he realize I was pining for this moment. I quickly agreed and told him all about my plans to tear the entire closet apart. Yep, that's right. And my wonderful husband agreed.
A little background before I dive right in, though. We enter our house from the back most of the time. The entryway is very narrow. And we live in Minnesota where we wear boots half the year. So after a year of hopping on one foot and standing in the doorway waiting for the other person to hurry up and get their shoes off, I've been dreaming of a bigger entryway. But I didn't see major construction happening anytime soon, so I had to let it go.

Our entry before--with the closet doors closed, there still wasn't much room to move around in the space. (Please note the cute dog in the photo. As it would turn out, she would hardly leave my side during the duration of this project, and it's not because she's a special handydog.)

This was our closet. I tried to keep it neat, but since we could just pull the doors shut to close out the clutter it never really mattered. As I cleared things out to make way for demo (yes, demo!), I realized this was our dumping grounds. Most of the items in here made sense to live somewhere different.
And the "handydog"? Well, in the middle shelf were her treats. And the bottom shelf her food. And on the top shelf, more treats. She wasn't going anywhere if I was standing in such close proximity to dish out a few treats! (Smart dog. But she didn't get any because I found it highly annoying. Sorry, Lilly!)
 |
| Starting to clear things out... |
It started off simple enough. I pulled away the caulk holding the board down. And then got stuck because I couldn't pry up the board. I would need more tools! More specifically: I needed a crowbar. I quit my work for the day and Louis took me and the pup exploring (on a NINE mile urban hike).
He made up for the long walk by buying me my very own crowbar the next day! Aww, tools are the way to my heart!

He proved his prowess by prying the tightly-wedged floor board out for me (I had already admitted defeat. Twice.).

So, um, this is what we found under there (my facial expression says it all). Some Styrofoam blocks, wooden floor, and pink fluffy insulation. So...we shoved that board back on top and made the decision to try to build up the existing closet floor rather than leveling it out with the other floor.

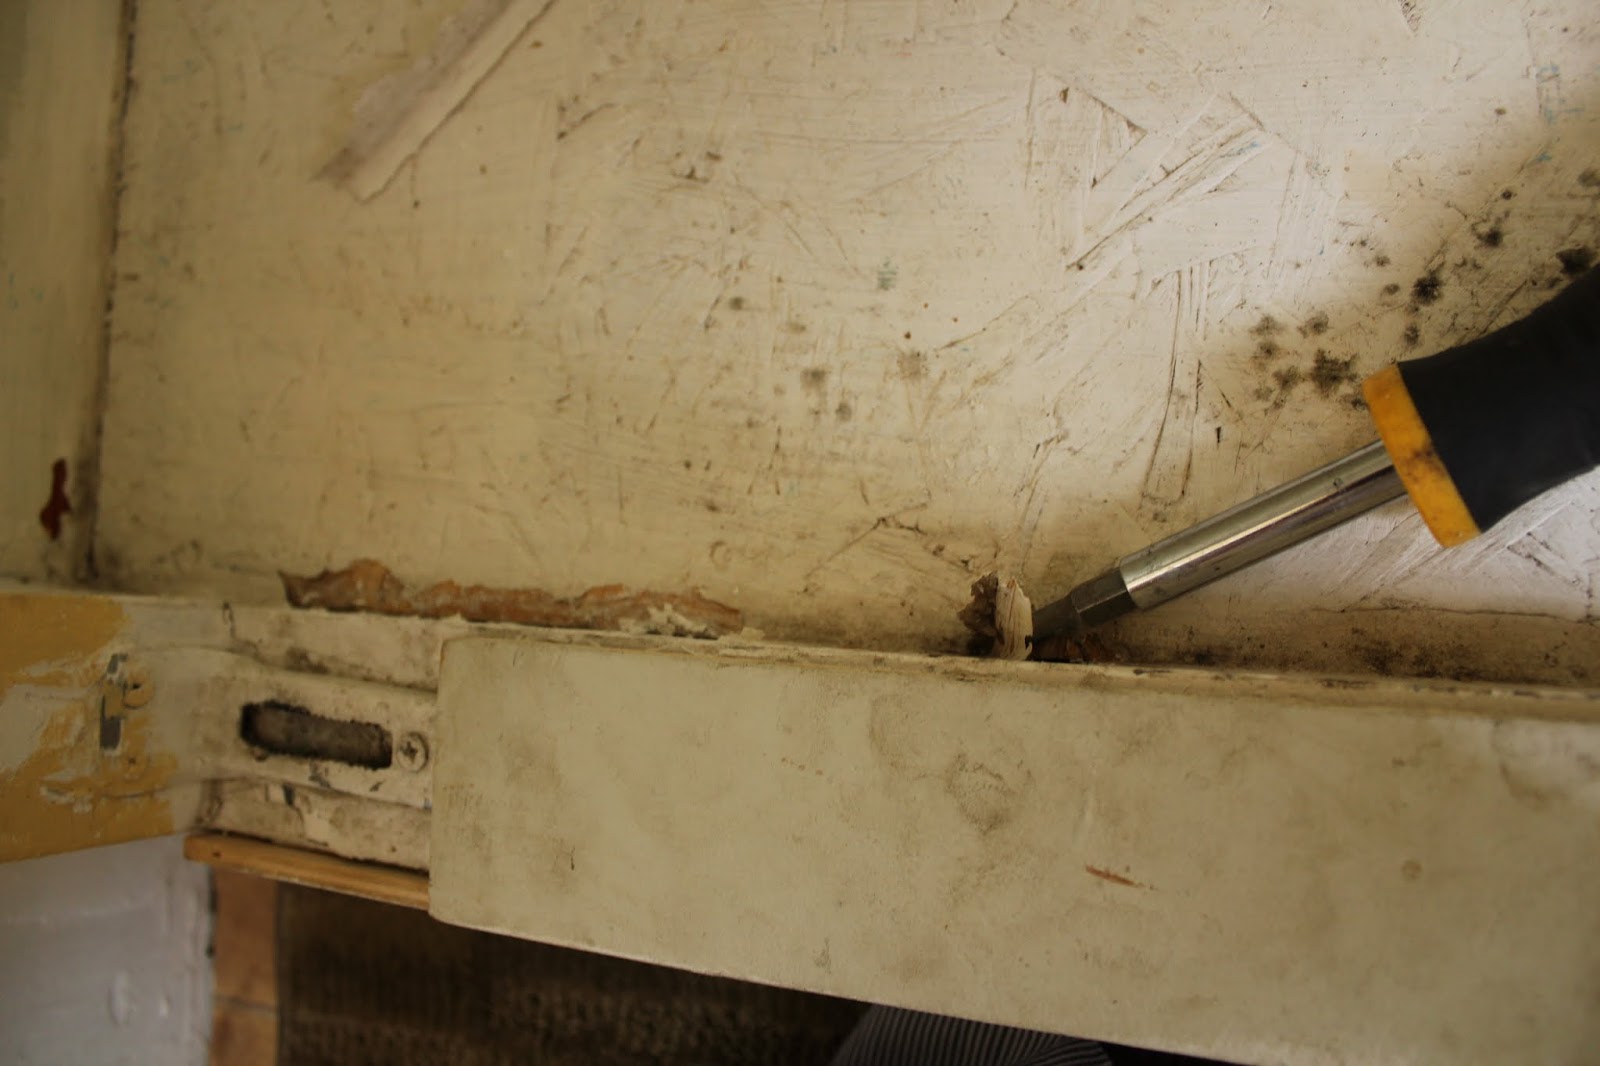
Then me and the crowbar (and some other tools) got to work taking apart the existing shelving. At this point I discovered the multi-colored paint job going on. It seems some of the shelves were added and then the wall was painted. Ick.

Luckily the next step in the process was to patch all of the holes and get some fresh paint on the walls. I could have used some of the leftover kitchen paint the previous owners left, but I sort of wanted this to stand out. I opted for a green-yellow (grellow) paint because our kitchen is green and yellow currently.
Behold: Tart Margarita in Dutch Boy Refresh!
(It makes the other yellow in the kitchen look peach!)

With a few more coats on the wall (and ceiling!) I called it a day (the end of the 3rd day on this project now). Already this was a vast improvement over the cluttered closet! My mini mudroom was beginning to take shape!
I should note that this was my inspiration (found via Pinterest) going into the project. Look at that beautiful organization! (This family apparently only buys things that are lime or pink.)

Continue on to part two to see how the mudroom continued to take shape...
No comments:
Post a Comment