
And we will.
Now, from start to finish, here is the good, the bad, and the ugly of paint stripping.
You know how some products ask to "test in an inconspicuous area"? Yeah, I always ignore that, too, but since I was literally sweating as I stood in line last Friday afternoon with my paint stripper in hand, I took that advice seriously. Actually, I don't believe it called for that, but I did it anyway.


Which looked something like this:

Never thought you'd see a pile of paint in your life?

Well, now you have. With a mix of leaves. Gross.
By now the green goop had dried, so we called it a day. I put up a good fight, though, but soon realized I didn't want to cry in our driveway, so I let the paint win.
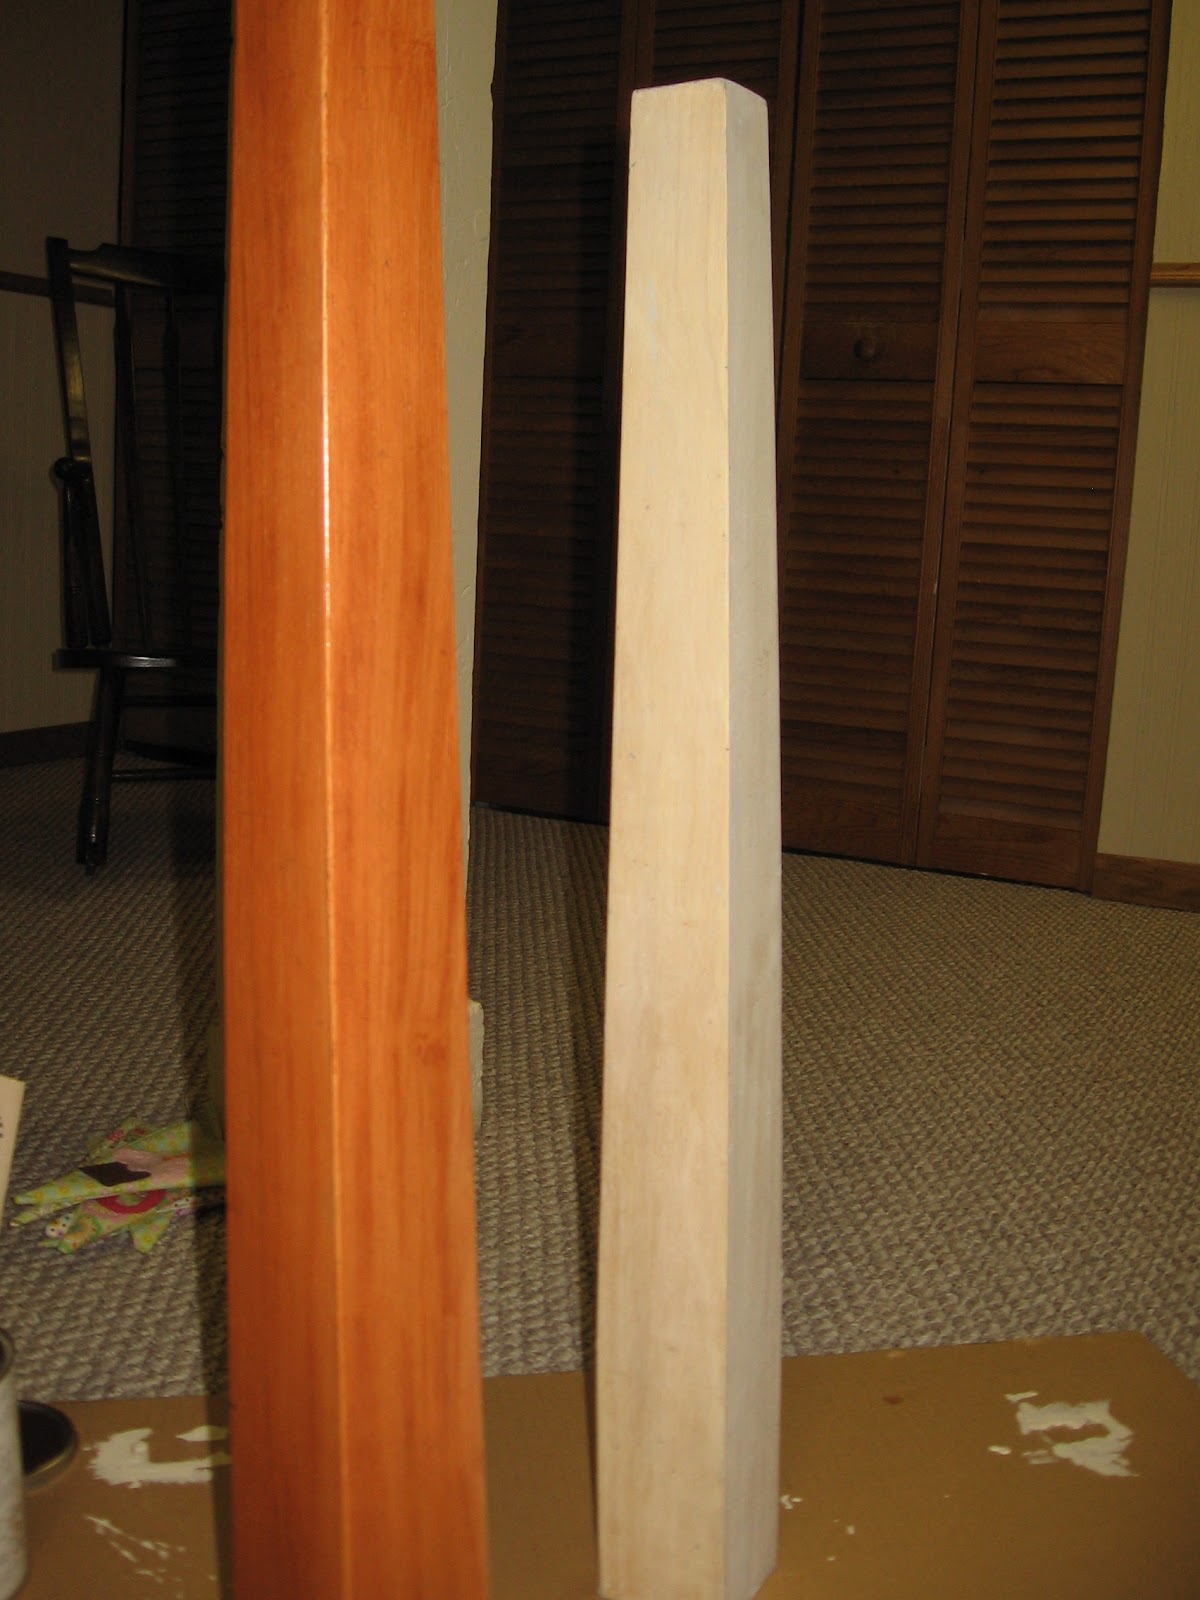
We applied a spray-on paint stripper to the edges and sides and scraped like mad. We washed the whole thing down with paint stripper wash and then sanded smooth. Resulting in this beauty!

Time for the stain. We opted for something slightly darker to match in between our floor, baseboards, and other furniture, choosing a "cherry" finish in the end.
One leg finished. One leg unfinished. Followed by a coat of polyurethane finish, which yes, I did apply at 8:45pm in the garage. I returned home at lunch today, not to eat lunch, but to sand and apply the final coat of polyurethane. My final steps, upon arriving home, was another light sand and wiping off the dust before moving it back in the house.


Do you need a before and after? Because I do!
BEFORE:

AND AFTER:
After undertaking such a large, life-consuming project, I again have come in conflict with my "project patience". Louis calls this obsessive, I like to think of it as determination. And you might be wondering what happened to my ban on craft and hardware stores? Well, that doesn't count for gift-making purposes, and the table? I had to squeak this one out while the weather gods held out for me! Aren't you glad (for us) that we did? We get to enjoy this nice cherry finish allll winter long!
So, our $28 table...PLUS
$9 first paint stripper
$6 stripper wash
$3 cheap brushes for application
$10 wood stain
$14 polyurethane finish
$7 second paint stripper
$6 additional stripper wash
$3 rags to apply stripper wash
$2 cloth to apply stain
=GRAND TOTAL $88
[Additional cost=$9 for Nature's Gate Papaya hand lotion. Never underestimate how many times you can apply lotion. I carried that bottle to work and maybe put it on, oh, 12-14 times. It's saving my sandpaper hands and smells so good! And yes, I am totally plugging this paraben-free product.]
Damn. It was worth it. And we have lots of stain left over for, you know, no other staining projects in sight. And the bonus is that my husband isn't going to leave me. But he should really start thinking about staging a DIY intervention.
looks great!! I've never heard you say damn before...lol...that made me laugh!
ReplyDeletestop making me feel lazy! this is incredible. Nice job.
ReplyDeletethat looks amazing!! did you see the pictures of that black buffet in the house we are hoping beyond hope to buy - think your method would work? I hate black!
ReplyDelete